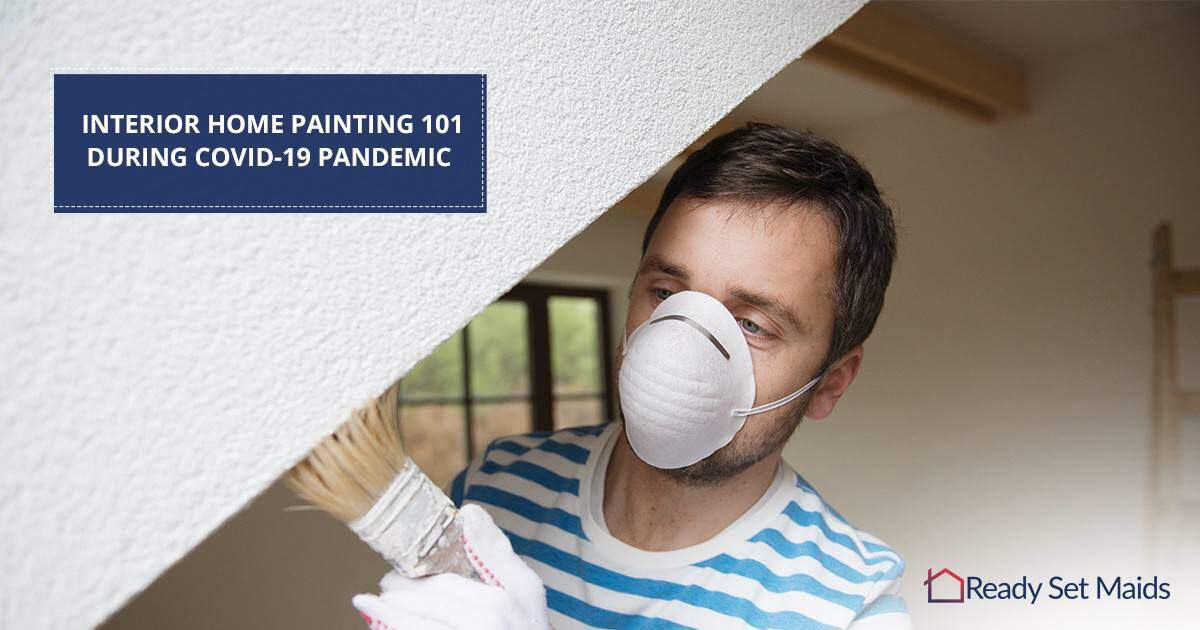
Nothing says spring, this year, like a DIY project designed to lift your spirits and revitalize your space! You’ve spent weeks in your pajamas binging on your favorite show until “relaxation” became uncomfortable and boring. You’re in desperate need of a project. You’re in luck! You have the empty “guest room/storage room.” It’s the perfect blank slate. You’re excited to get started but you have no idea what you are doing or where to begin. Don’t give up! Let Ready Set Maids show you professional interior painting tips and get you safely started on the right step.
Step 1: Supplies
Preparation is the MOST IMPORTANT step to painting professionally. Before you begin, gather all of your supplies. You may need: drop cloths or large cardboard pieces to cover the floor, plastic covers for large furniture, painter’s tape, two quality brushes, two wool blend roller brushes, a deep-well pan, sandpaper and sponge block, a six-inch patching knife, and a two-inch putty knife.
When purchasing your supplies, PRACTICE SAFETY FIRST. As mandated, wear a cloth mask when outside. “Even if you don’t have symptoms or haven’t been diagnosed with coronavirus, you should wear a mask when you’re out in public. ‘This is because asymptomatic carriers of COVID-19 can still shed the disease,’ Dr. Favini explains,” reports Caroline Shannon-Karasik from Instyle.com.
Step 2: Clear the Area
For best results, completely clear the room you’re working in of all furniture. If a piece is too big, move it to the middle of the room and cover it with plastic then tie the plastic down with strong tape.
Step 3: Sand
To the naked eye, walls may look smooth and ready to paint. However, little things like dirt, hair, cracks, and other particles will be even more pronounced when painted over. Therefore, it’s key to sand before beginning any painting project. Use the brush attachment on your vacuum to fully remove the dust.
Step 4: Inspect for Flaws
Sometimes it’s difficult to spot a flaw on the surface of a wall in natural light. To get a closer look, take at least 60 watts of light and shine it against the wall to spot any divots, surface scratches, or wedges missing from the wall and circle them with a pencil. Cuts up to 7 1/8” deep, fill with spackling compound. For deeper holes, use an epoxy filler.
Step 5: Clean Walls
To clean your walls, take a dry cloth dusting broom (like a Swiffer) and run over the wall to remove all loose particles. Next, use a degreaser on the wall (especially if you are painting in the kitchen). Finally, if you are painting a wall for the first time or if the wall has existing paint on the wall, you’ll want to use a primer.
Step 6: Place Floor Protection
There are good choices and bad choices when it comes to floor protection. Don’t choose a material that’s absorbent and will bleed when the paint touches it. The best options are canvas drop cloths or thick, large cardboard pieces.
Step 7: Apply Painter’s Tape to Trim
To apply the painter’s tape, hold the tape tight against the wall and use a putty knife along the edge of the trim to ensure a secure fit. Use extra-wide tape for full protection.
Step 8: Brushes
Like any artist, you’re only as good as your tools. According to FamilyHandyman.com “Cheap roller covers don’t hold enough paint to do a good job. It’ll take you four times as long to paint a room.” He goes on to recommend purchasing wool-blend roller covers for best results. For trim brushes, try the Purdy brand. To keep your trim brushes like new, clean with a wire comb/brush and store in original packaging.
Step 9: Paint
Finally, we’re here! To start, know your paint. Flat/matte paint has no shine, while eggshell paint has a slight shine and is washable to a point. The most versatile paint is semi-gloss. It’s very shiny and completely washable. When you’re ready to choose a color(s) use swatches or paint samples to test your work area. Here are some of the many online resources available for ordering paint: ThePaintStore.com, Lowes.com, Dunn-Edwards Paints, HomeDepot.com, Walmart.com, and Amazon.com.
When you’re ready to begin, you’ll want to paint in this order: trim, ceiling, walls. For best results, paint the entire wall at once and not over several days. Remember to keep your brush at least half loaded at all times and paint the seams of your work with a wet edge.
Step 10: Finishing
If you painted the trim or near it, you have two options: remove the tape while the paint is wet or wait until it’s completely dry. If you do anything else you risk chipping the paint. For a professional, finished look, use acrylic caulk around outlets, trim, baseboards, and more. Remove extra caulk with a putty knife.
While you may have begun your DIY painting project as a novice, you can now proudly hold your head high as you look at the amazing room you finished. Your friends and family will soon be turning to you for advice. Know that even though you might have finished this one project, it’s only the gateway for more wonderful DIY ideas to come!


