
Cleaning the oven can just plain suck; it can take a lot of hard work and quite frankly is kind of boring. Even so, there aren’t too many other things that beat that feeling of accomplishment you feel once you’ve gotten it squeaky clean. With that being said, this article is to help you maintain that awesome cleanliness that you’ve worked so hard to achieve. Now before you get offended, just know that this isn’t a dig at your cleaning skills. We’re sure that you already know how to clean your oven, but you have to admit that it can be a little difficult to keep up that cleanliness streak what with cleaning in general being kind of a pain. Stick with us and we’ll give you some good tips to help you keep you happy and your oven clean.
How To Clean The Actual Oven
To clean the oven—which should be done every month or so—you can use a mixture of a quarter cup of salt, a quarter cup of water, and three-quarter cups of baking soda. First, remove the racks and the separate thermometer (if you’ve got one). Once this has been done you can then clean away some of the more obvious food particles. A good idea is to spread around towels to catch anything that you scrub out to avoid making a mess on your floor.
After you’ve completed all of the prep work, you might want to do yourself a favor and change into some clothes that you don’t really care much about and put on a pair of rubber gloves. Baking soda isn’t a skin irritant, but it never hurts to have the added protection from the messiness that is going to inevitably come from cleaning your oven. You can then mix together the aforementioned cleaner (a quarter cup of salt, a quarter cup of water, and three-quarter cups of baking soda into a paste) and then spread it across the entire surface of your oven, excluding the heating elements and gas inlet.
Be sure you pay special attention to the door and bottom of the oven as these areas can get especially caked with gunk. After coating the oven, shut the door and allow the paste to settle for about 12 hours.
Baking Soda Wonder
While the baking soda is doing its job on the inside of the stove, you can begin to clean the racks with a baking soda and vinegar combination. For this, all you will need to do is dampen the racks so that the baking soda will properly stick. You can then apply the vinegar with a spray bottle all over the racks; this causes the baking soda to foam up and will allow you to remove whatever gunk is stuck on to them with a pad or damp scrub brush. You may not be able to remove whatever has been baked onto the racks in one go. If this is the case then you can let them soak over night in water in baking soda to soften up the filth that still remains.
After 12 hours have passed, you can slap your gloves back on and start back on the inside of your stove. The paste will have dried on at this point so take a wet rag and proceed to wipe it off. You’re very likely to encounter a few difficult spots that the paste may not have been able to handle all by its lonesome so just spray them down with some vinegar and attack them with a scrub brush. Once you’ve got everything all cleaned up, rinse everything down with a wet rag. It might take a few tries to get your oven rinsed out well as the baking soda may leave behind a film.
Once the oven is dry, you can dry off the racks as well (if you haven’t already done so) and place them and your replacement oven thermometer (if you use one) back inside of the oven. You can then give the exterior of the oven door a final spray of glass cleaner and wipe it down.
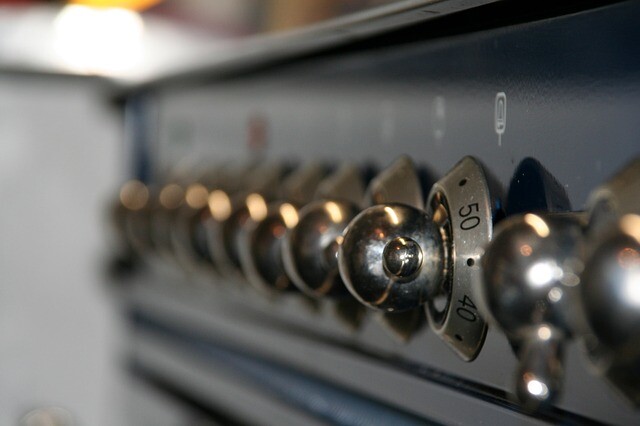
Cleaning the Stove Top
Now that you’ve gotten some tips on how to clean the oven, let’s talk about the stove top and how you needing to clean the burners is pretty much an undisputed fact of life that you may as well own up to now. One good thing about the burners though is that they are a bit easier to do than the oven itself. If you are trying to clean a gas burner then you can wash it in warm, soapy water by hand. There are a few types of gas burners that can go into a dishwasher and if you have one of those types then you can let your dishwasher handle the hard work for you and scrub off any remaining dirt or food. If you’re trying to clean an electric burner then you can just use a sponge to wipe away any food that has spilled onto it.
For the actual surface of the stove, you can use Clorox wipes to break down any grease or residue that has accumulated on it. If you don’t have any or don’t like to use those, then you can use the same baking soda paste from the oven cleaning on the stove top as well. Just coat the top of the oven and wipe the paste off, it should do a good job of removing whatever was staining the stove. As with the oven, the paste is likely going to leave a film so you may need to rinse a few times to get it off.
If you have any stubborn stains that are still there then you can use some water mixed with baking soda to get rid of them and if the stain is greasy, then add some dish soap.
Conclusion
Baking soda is an amazingly effective way to clean away all of the built-up cooked on grime that has accumulated onto your oven. It also has the benefit of lacking harsh chemicals that store-bought cleaners can contain so you won’t need to worry about any potentially harmful fumes flowing throughout your home. You should keep in mind, however, that combining baking soda with anything acidic— like vinegar—does form into a gas. If you mix together inside of a sealed container, it could actually explode and harm you or anyone else that may be around. It is best that you use these mixtures as you are cleaning and avoid trying to store any away for future use.
Also take care not to use any baking soda mixtures on aluminum cookware or surfaces, antique silver, gold-plated pieces, and marble surfaces. Baking soda is abrasive and can wear away at the latter three materials and as for the aluminum, it can cause discoloration if left on for too long.
